Skirt Curtains
 I've had this idea for curtains made from skirts for over a year. It was one of those projects that has to brew in my head for a while, so meanwhile I started picking up full skirts at the thrift stores and tucking them away. You could easily come across the skirts for this project in half a dozen thrift store trips if you aren't too picky. The overall color scheme for my daughter's room was green and pink until she wanted her drawers under the bed painted turquoise a couple months back. So when it came down to get serious for this curtain project (I was tired of the kids waking up early), I headed out to find more blue skirts, as well as couple more green and pink.
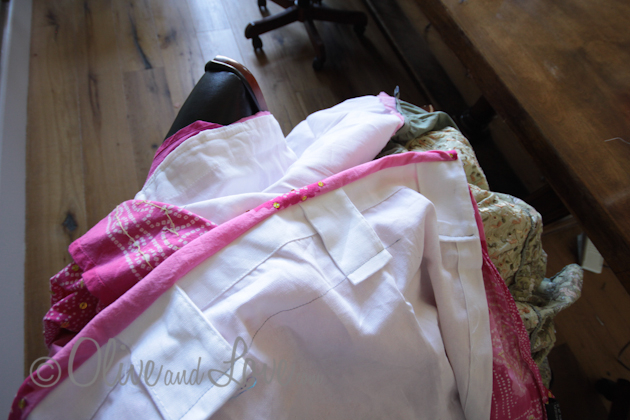
I picked up some cheap white tabbed curtains from Home Depot. They were only 84" and my finished curtains are 96" because the bottom curtain hangs below. With one long stitch I sewed the tabs down in the back .
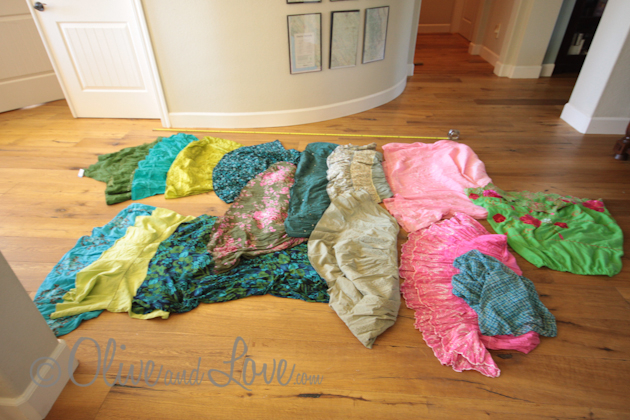
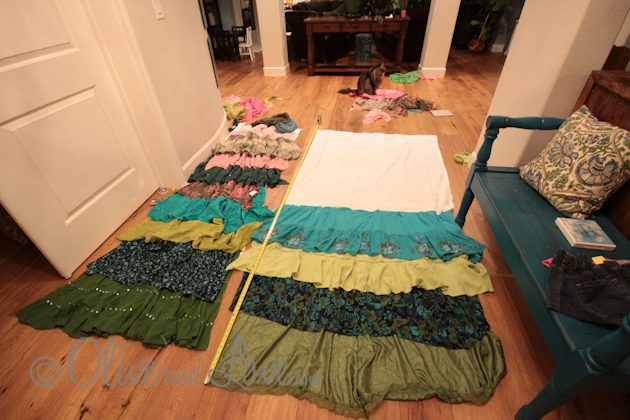
I started laying out the skirts in two rows with a similar color pattern. A couple of the skirts were big enough I was able to use them for both curtains. The white base curtains were 50" across so the base of the curtain needed to be at least that but preferably more.
[googlead]
Zebra helped me color coordinate the skirts. My goal was for each tier to match the same tier of the second curtain.
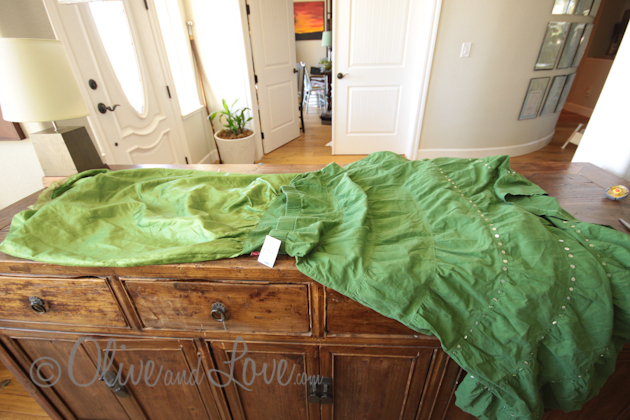
Pulling the interior slip of the skirt through the top, I cut just below the waistline. In this green skirt I was able to get two tiers by using the slip. I then cut a slit down one side.
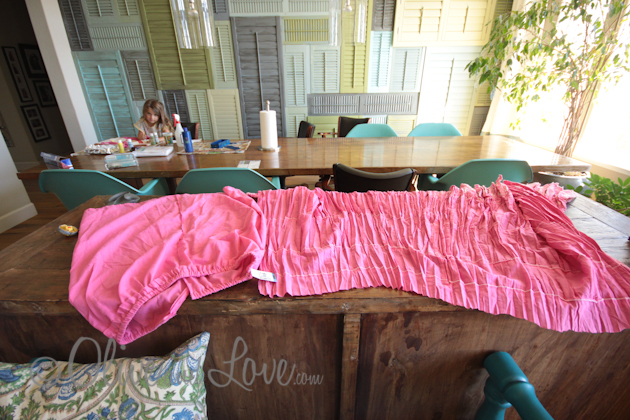
I cut off the top of the skirts so they weren't any wider then 50" This is because I was too lazy to do gathering stitches.
[googlead]
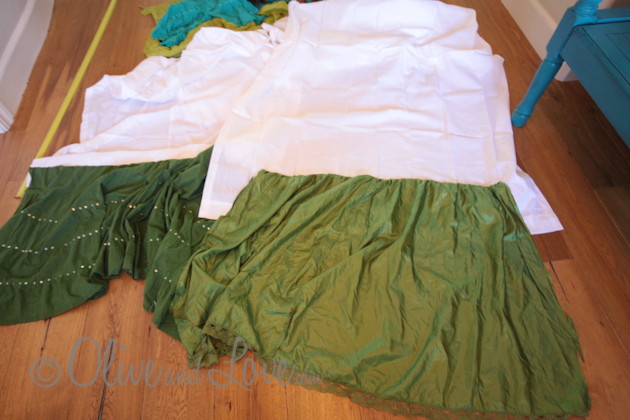
The bottom two green skirts I sewed onto the base curtains at different heights. They're final hanging height is the same. You can see the darker green on the left is lower then the one on the right. If I had cut the one on the right so that I sewed it at the same location as the one on the left, I would have had to run a gathering stitch across the fabric. So this is kind of the easy way out.
These first two tiers I sewed upside down and then flipped over for a nice finished looking top. But you know what? That REALLY doesn't matter. So that's why these are the only two skirts sewed in that manner.
I placed the skirts about a foot apart. Nothing is ever an exact science with me and that's why they aren't perfect. But home made is....homey ....right?
[googlead]
The top tier I sewed onto the back, and flipped it over so you don't see any of the base curtain at the top.
After sewing the tops of the skirts to the base curtain using white thread, I hemmed the sides of each skirt using a dark green. None of the side hems are visible from the front of the curtains.
Using fabric glue, I attached the sides of the skirts to the back side of the base curtain. Office clips helped to hold them in place as they dried.
The kiddos enjoyed a little craft time while I spent labor day weekend working on the curtains. It definitely took at least 6 to 8 hours to complete.
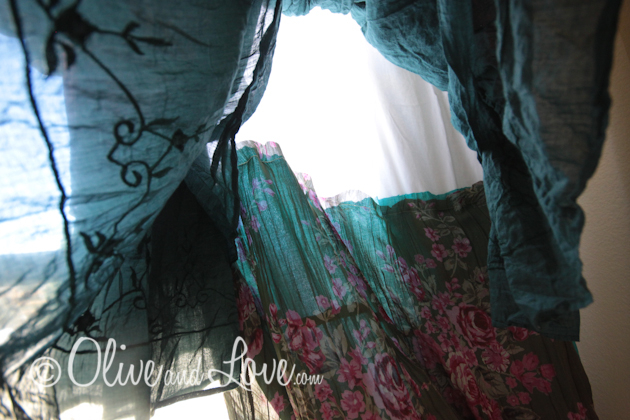
The light shining through bits and pieces of the curtain spotlight the imperfections and crooked sewing lines. To avoid this you could use black out curtains. They were twice as expensive, but would offer additional benefits such as more temperature and light control.
"Hike up your skirt a little more and show your world to me."
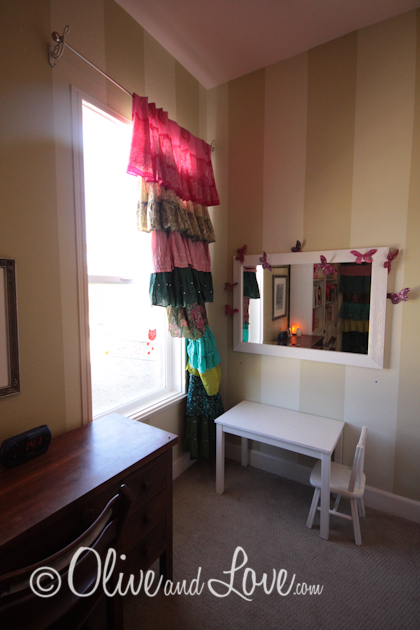
The curtain rod holder over the closet are two plant holders from Lowes, painted white, just like for the tree branch rod in my master bedroom. I then used a $12 brushed nickel curtain rod to hold the skirt.
We keep them open during the day, hooked on a simple curtain tie back from Home Depot.
[googlead]
The closet curtain we keep drawn back all the time for easier access into the doorless closet. I look forward to the big reveal of Zebras room in a couple weeks. I have two more projects I'd like to first complete.... Stay Tuned!
[googlead]


