Clay Votive Project
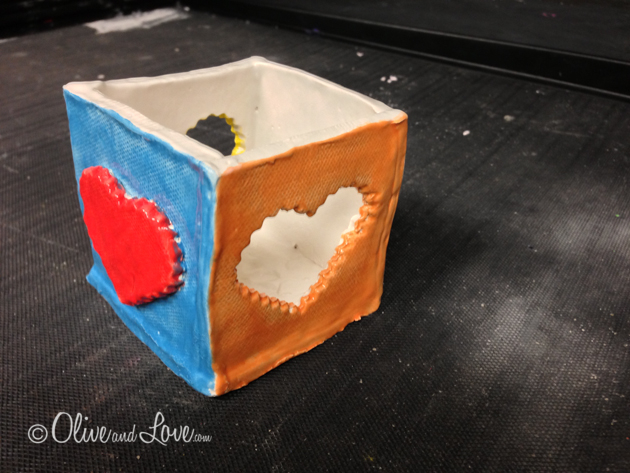
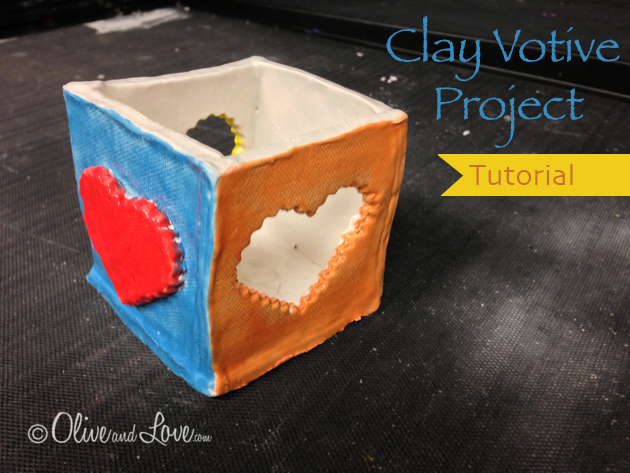
photo 3-2 copy
*remember to refer to Clay Guide lines
Printable PDF Votive Clay Project
Supplies:
votive side template
votive bottom template
bowls for water
clay mats
wooden skewers
cookie cutters
texture tools
stamps
Prep:
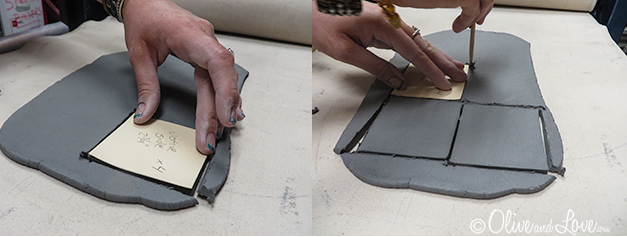
Roll clay into 1/4 inch thick slab using clay roller.
Cut into 6"x 9" rectangles, slabs will need to fit four side templates ( 2 3/4" square) and one bottom template (3 1/8" square).
Students:
Untitled-1
Trace four side templates using wooden skewer.

IMG_1374
Trace one bottom template using wooden skewer and carve name onto bottom of bottom.
IMG_1372
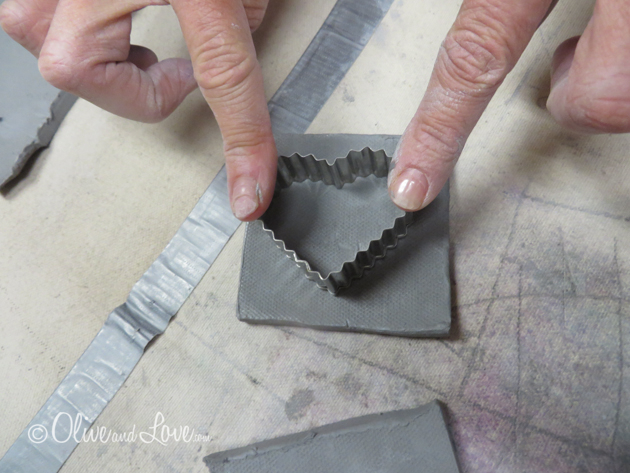
Use cookie cutter to cut out shapes from two sides.
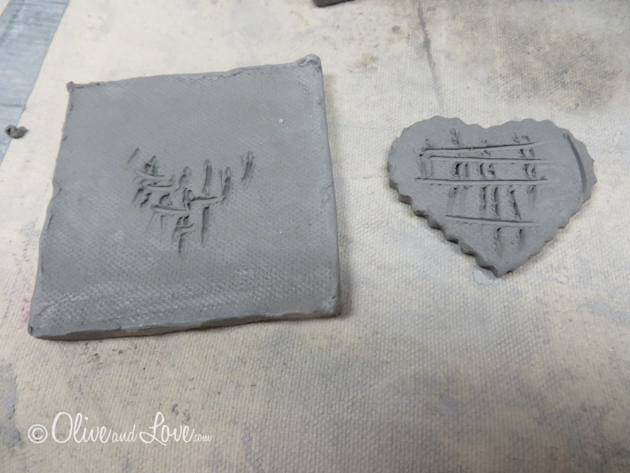
IMG_1373
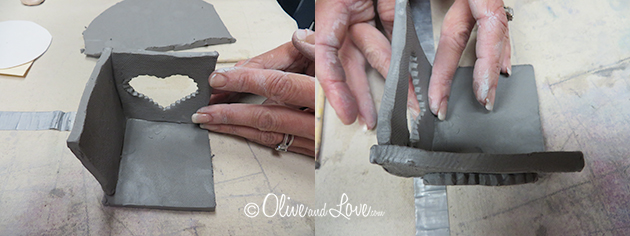
Score back of cut outs and use a little water to create slip on the surface of the scored clay.
Adhere cut out to side of votive and wiggle until it is firmly in place.
Use texture tools and stamps to decorate (not shown).

IMG_1376
Score and slip to attach sides to each other and on top of bottom.
Untitled-3
Untitled-2
Side pieces will all be attached to the bottom left corner of bottom slab.
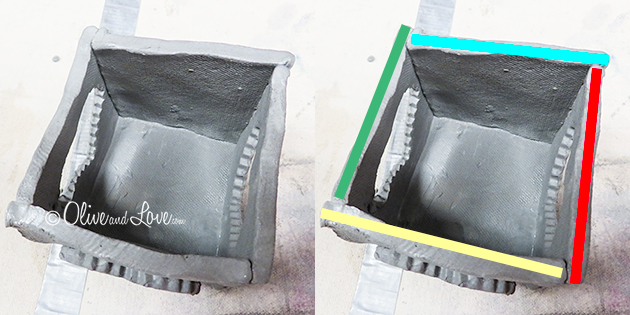
Rotate the project and repeat.

photo 3-2
References:
For full photo tutorial: http://www.oliveandlove.com/?p=4447